


How To
How to setup RTMP Live streaming on Facebook

To setup RTMP live streaming on Facebook, you will need to follow these steps:
- First, make sure that you have a Facebook account and are logged in.
- Open the Facebook website on your computer and click on the “Create” button in the top-right corner of the screen. From the drop-down menu that appears, select the “Live Video” option.
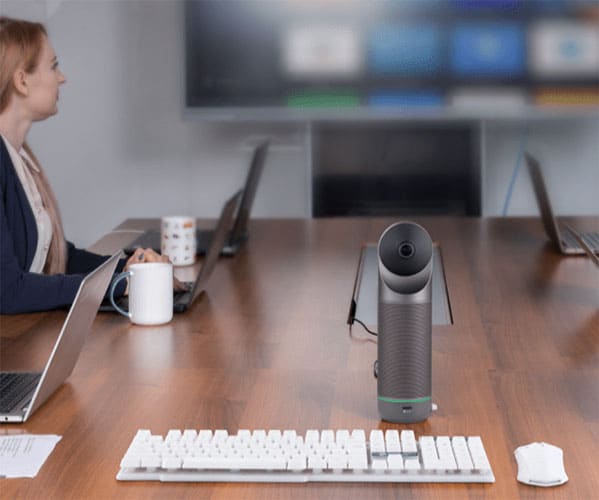
- On the next screen, you will see a list of recommended encoders that you can use for RTMP live streaming on Facebook. Select the encoder that you want to use and follow the instructions to download and install it on your computer.
- Once you have installed your encoder, open it and enter the “Stream Key” and “Server URL” that are provided on the Facebook Live page. These will be different for each live stream that you create, so be sure to use the correct ones for each stream.
- After you have entered the Stream Key and Server URL, click on the “Start” button in your encoder to begin your live stream.
- You will now see a preview of your live stream in your encoder, and you can use the on-screen controls to adjust the settings and make any necessary changes.
- When you are ready to go live, click on the “Go Live” button in your encoder. This will start your live stream on Facebook, and you will see a live stream notification on your Facebook page or profile.
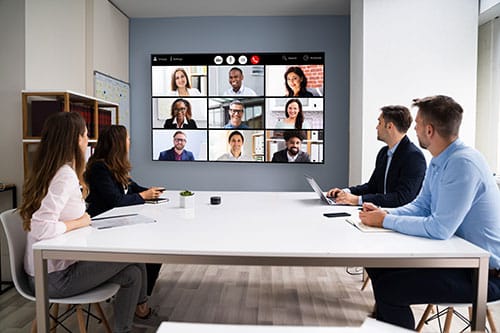
- While you are live streaming, you can interact with your audience by responding to comments and questions in real time. You can also use the on-screen controls in your encoder to turn off your camera or microphone, add a filter to your live stream, or end the live stream.
- When you are ready to end your live stream, click on the “Stop” button in your encoder. This will stop the live stream on Facebook, and you will be able to review and save a copy of the recorded video to your Facebook account.
- Congratulations, you have successfully setup and streamed a live video on Facebook using RTMP!